How to Use Canva Menu Templates for your Wedding or Special Event
Are you ready to elevate your wedding or rehearsal dinner with easy-to-use DIY Canva menu templates?
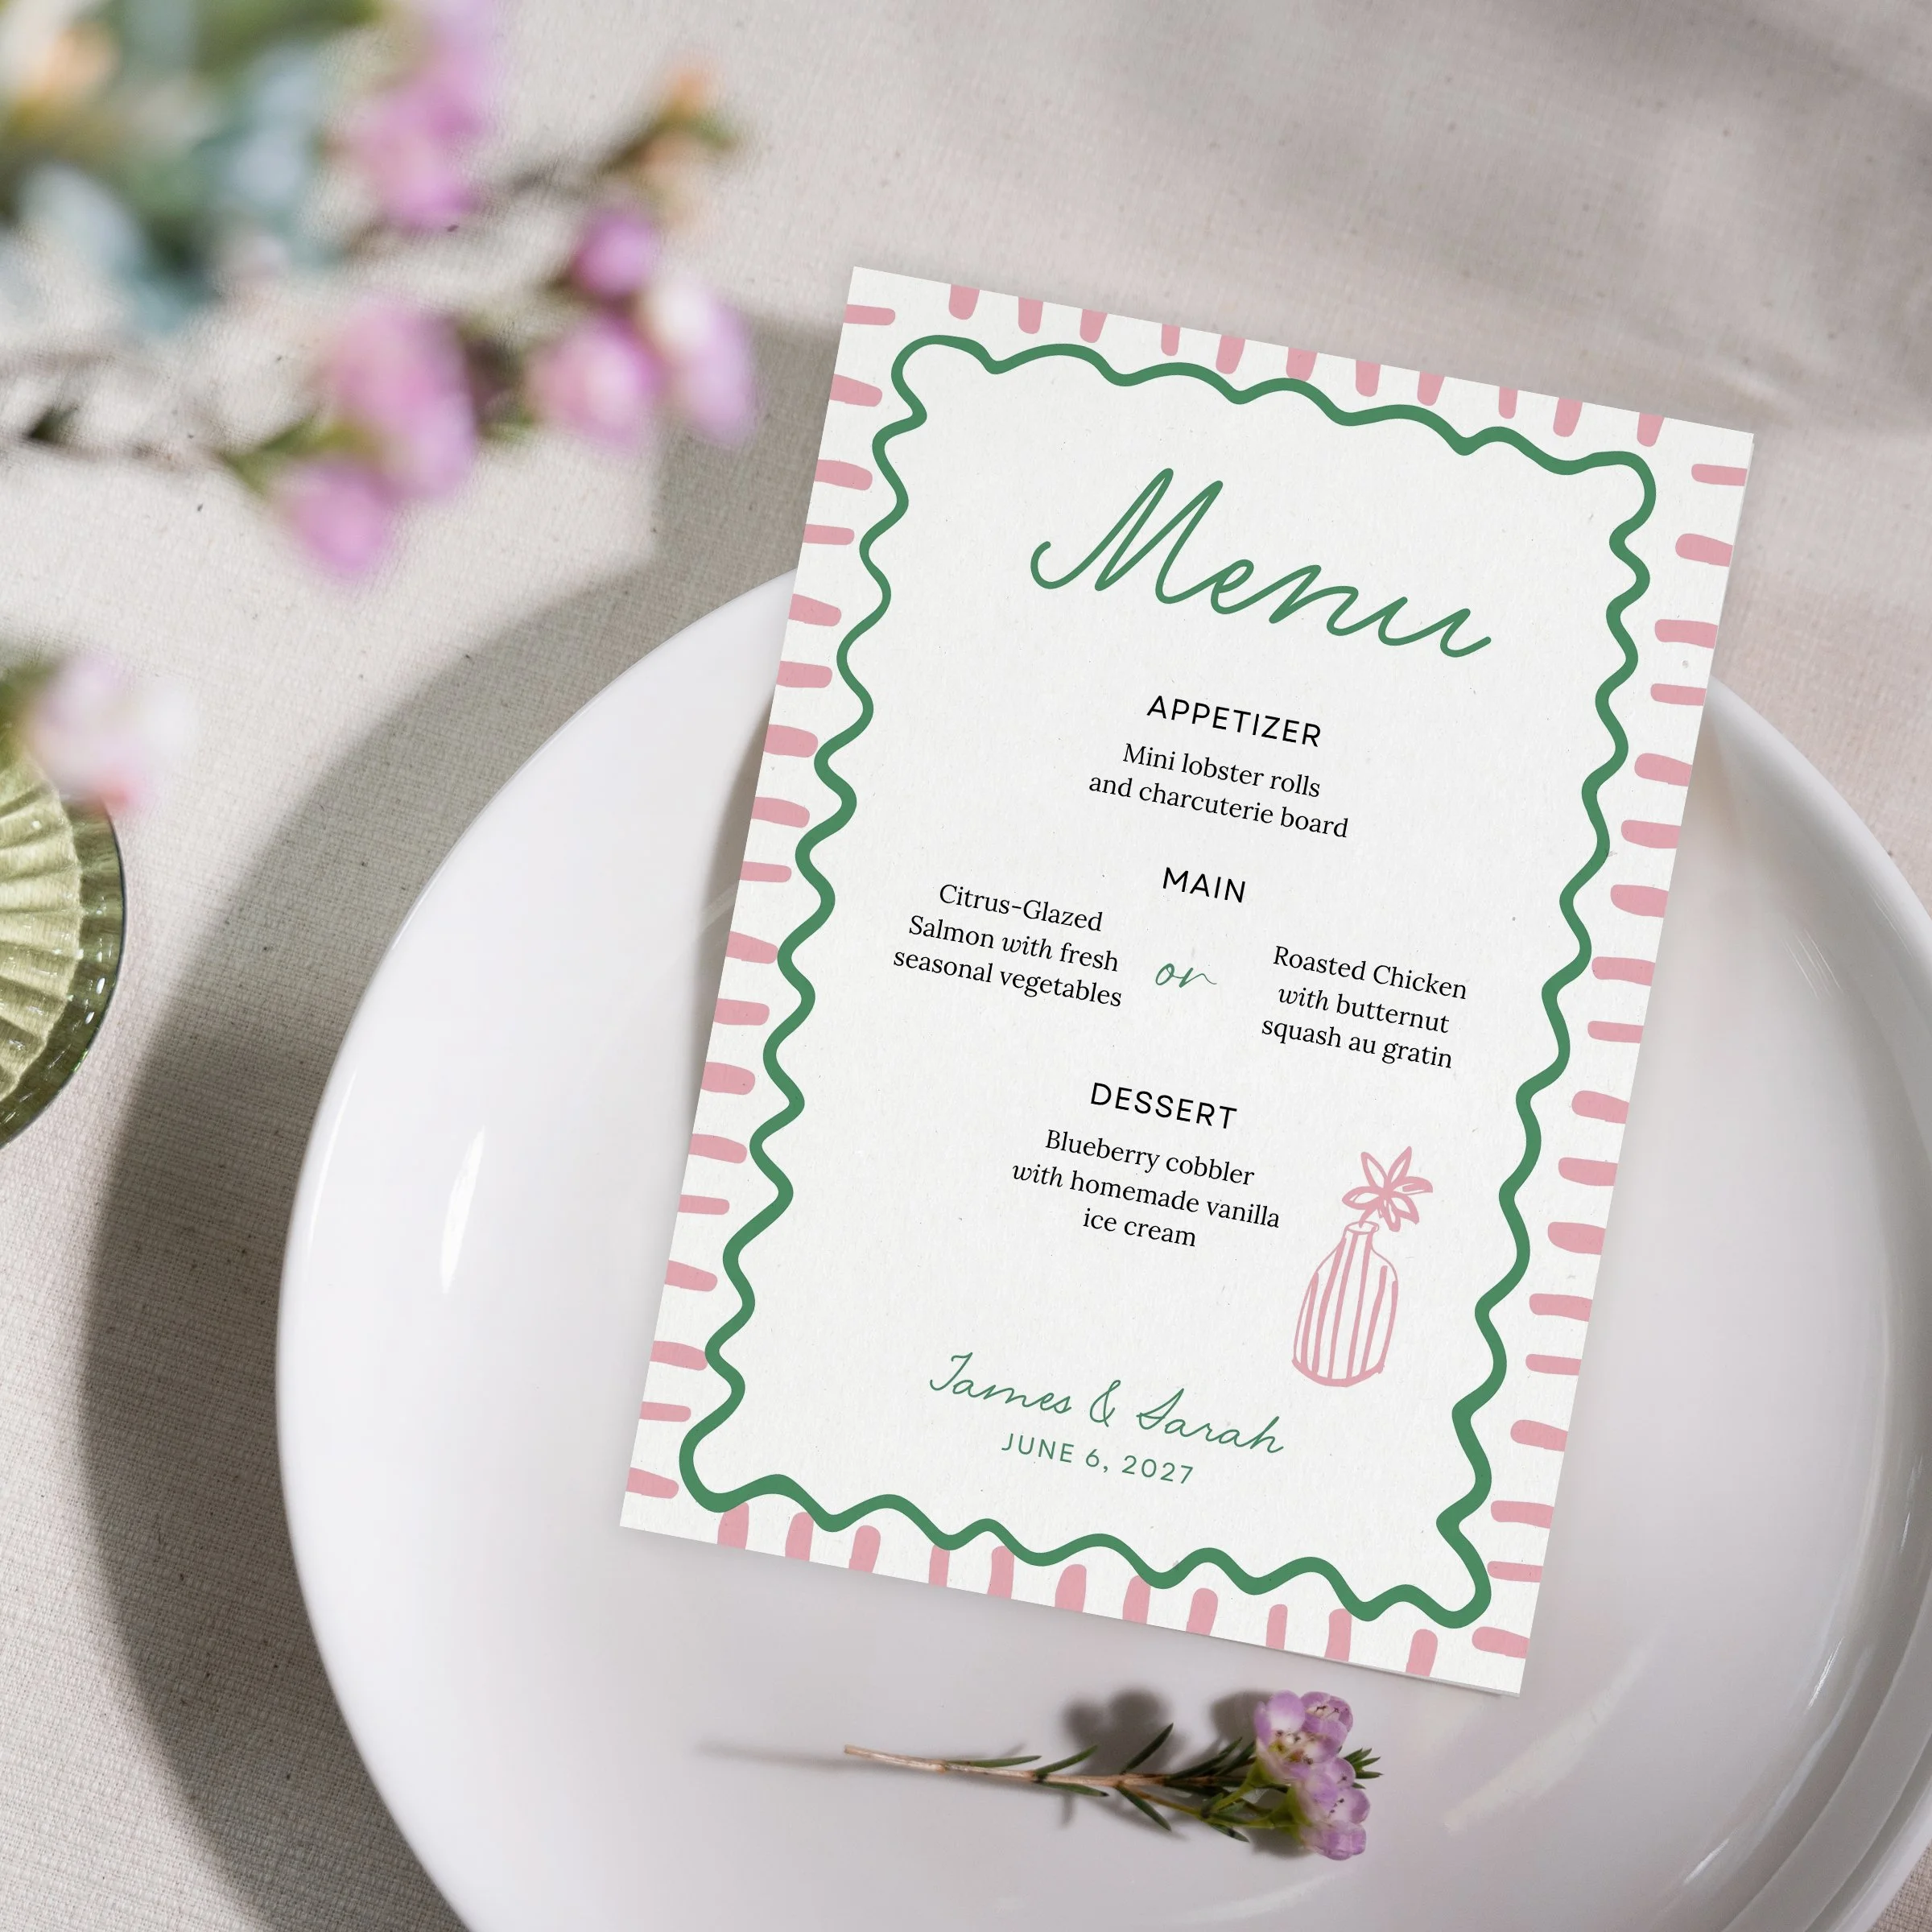
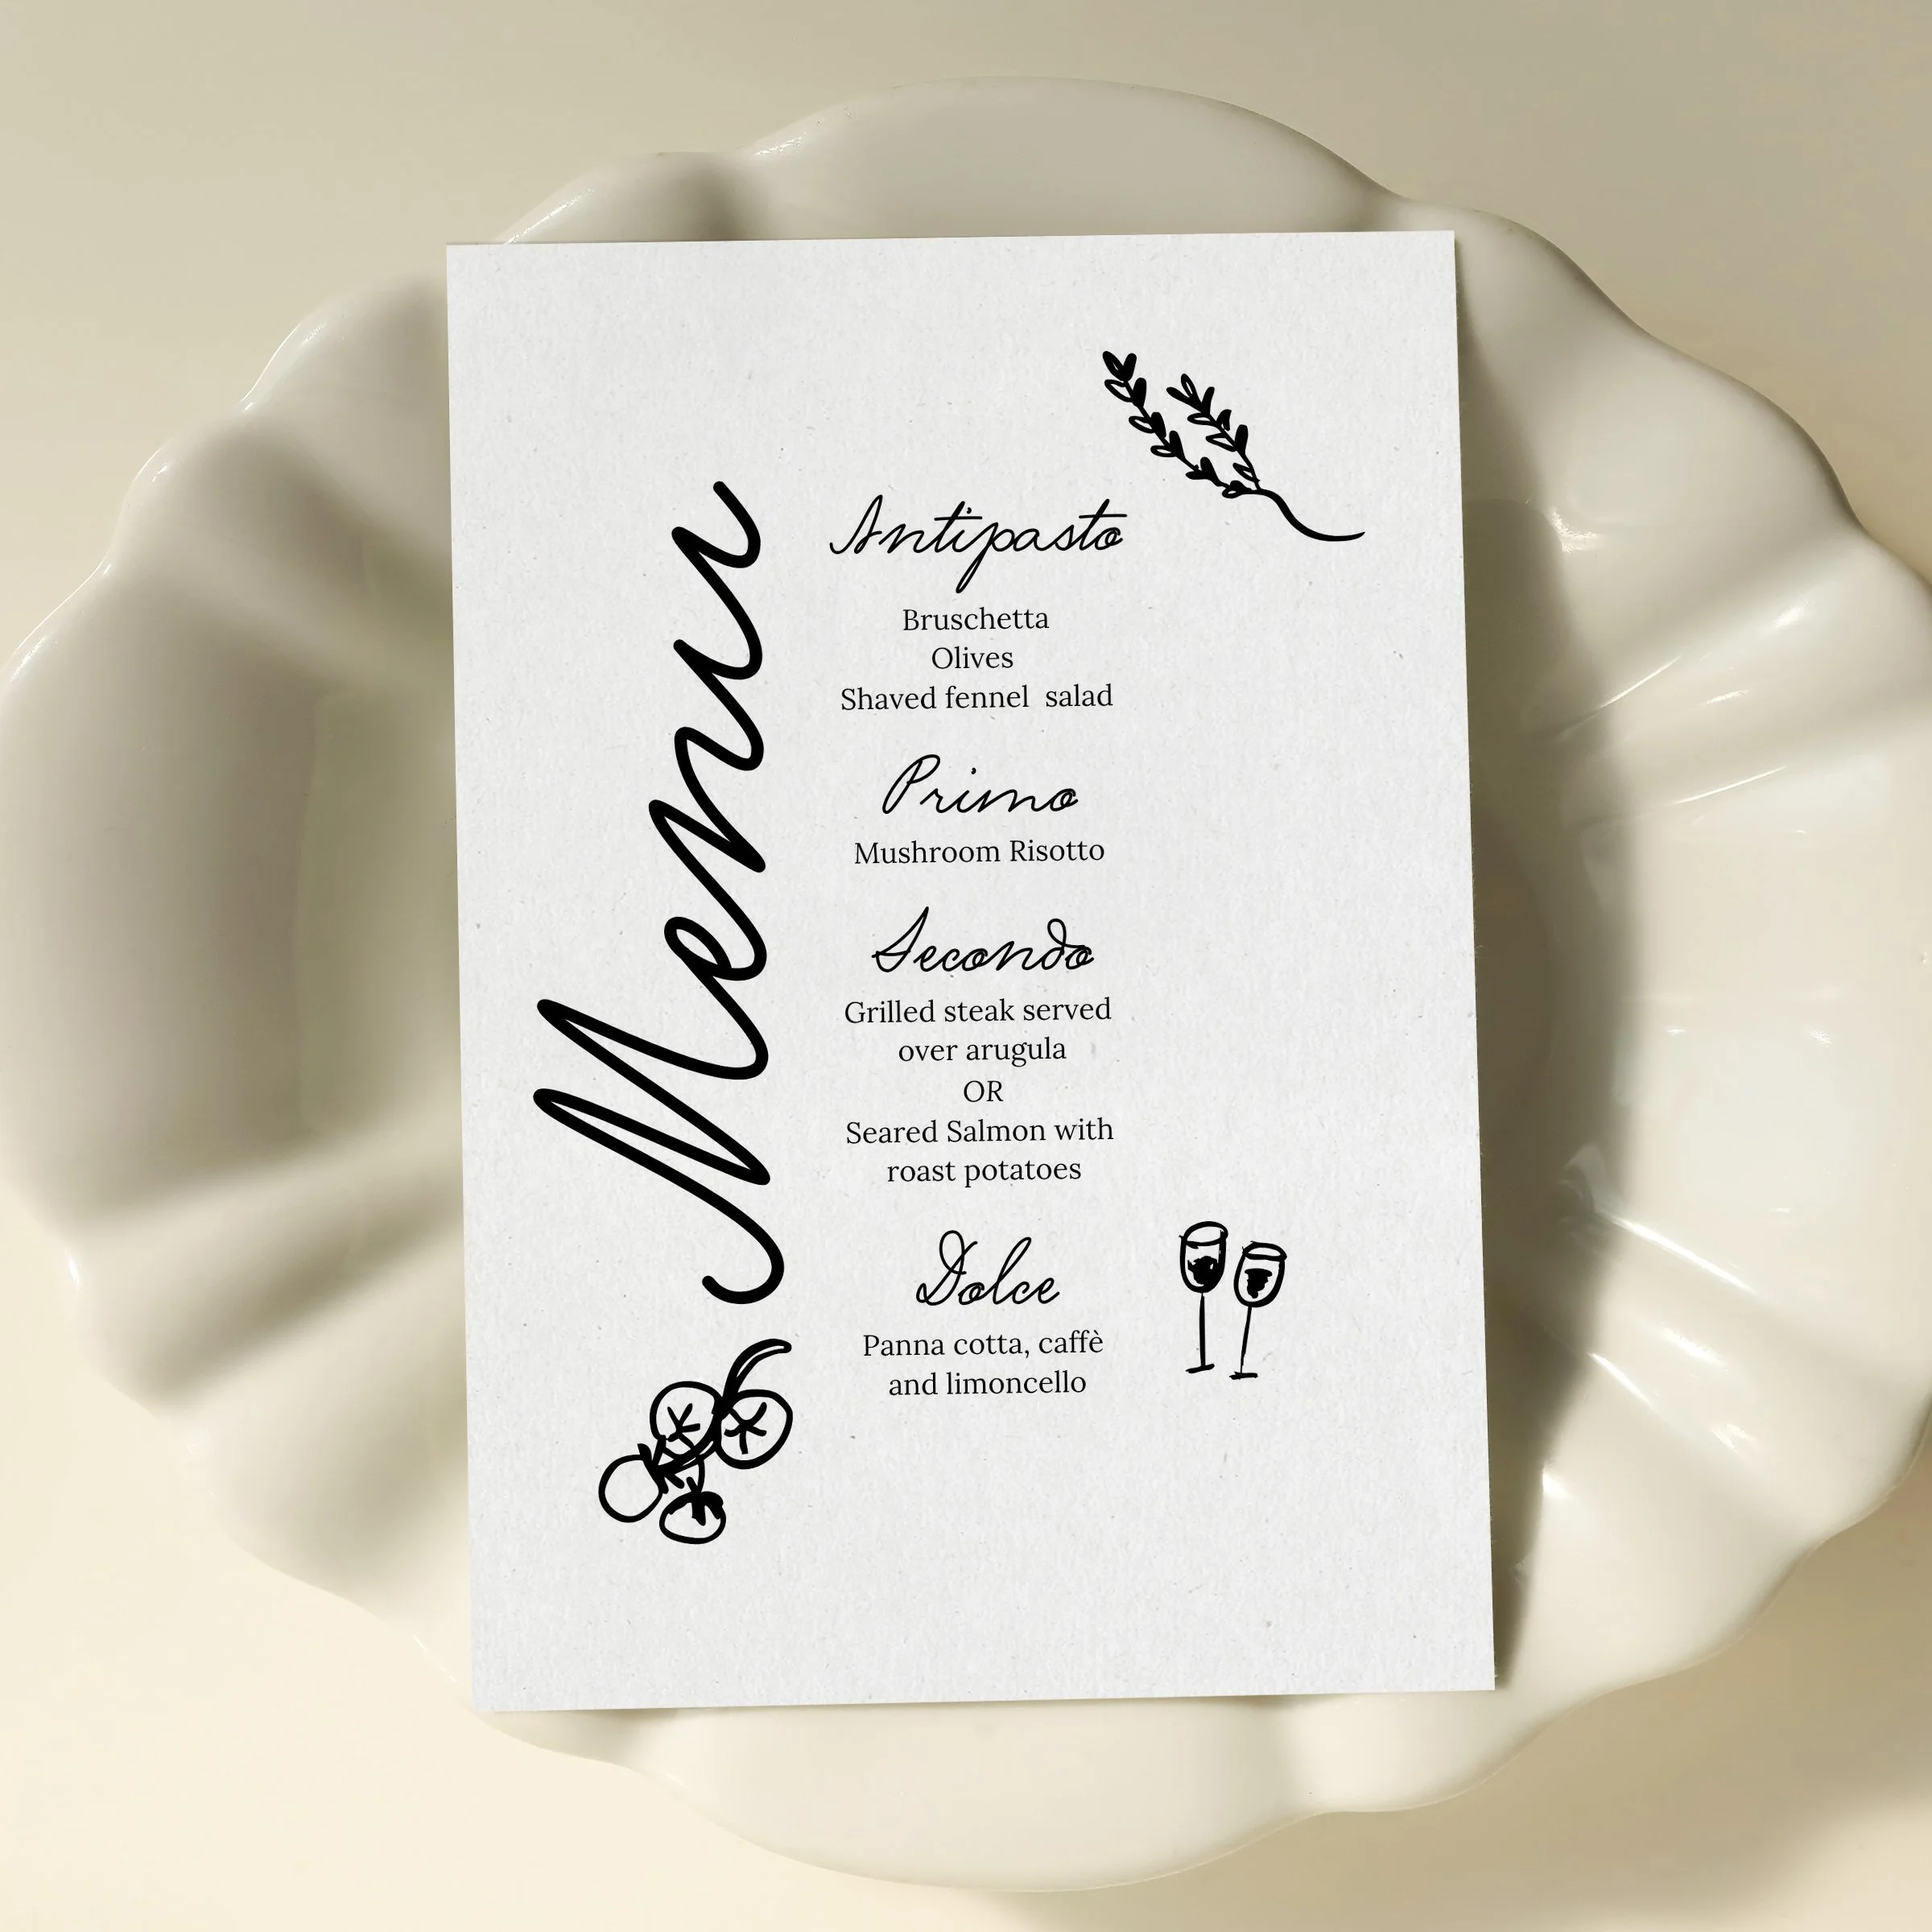
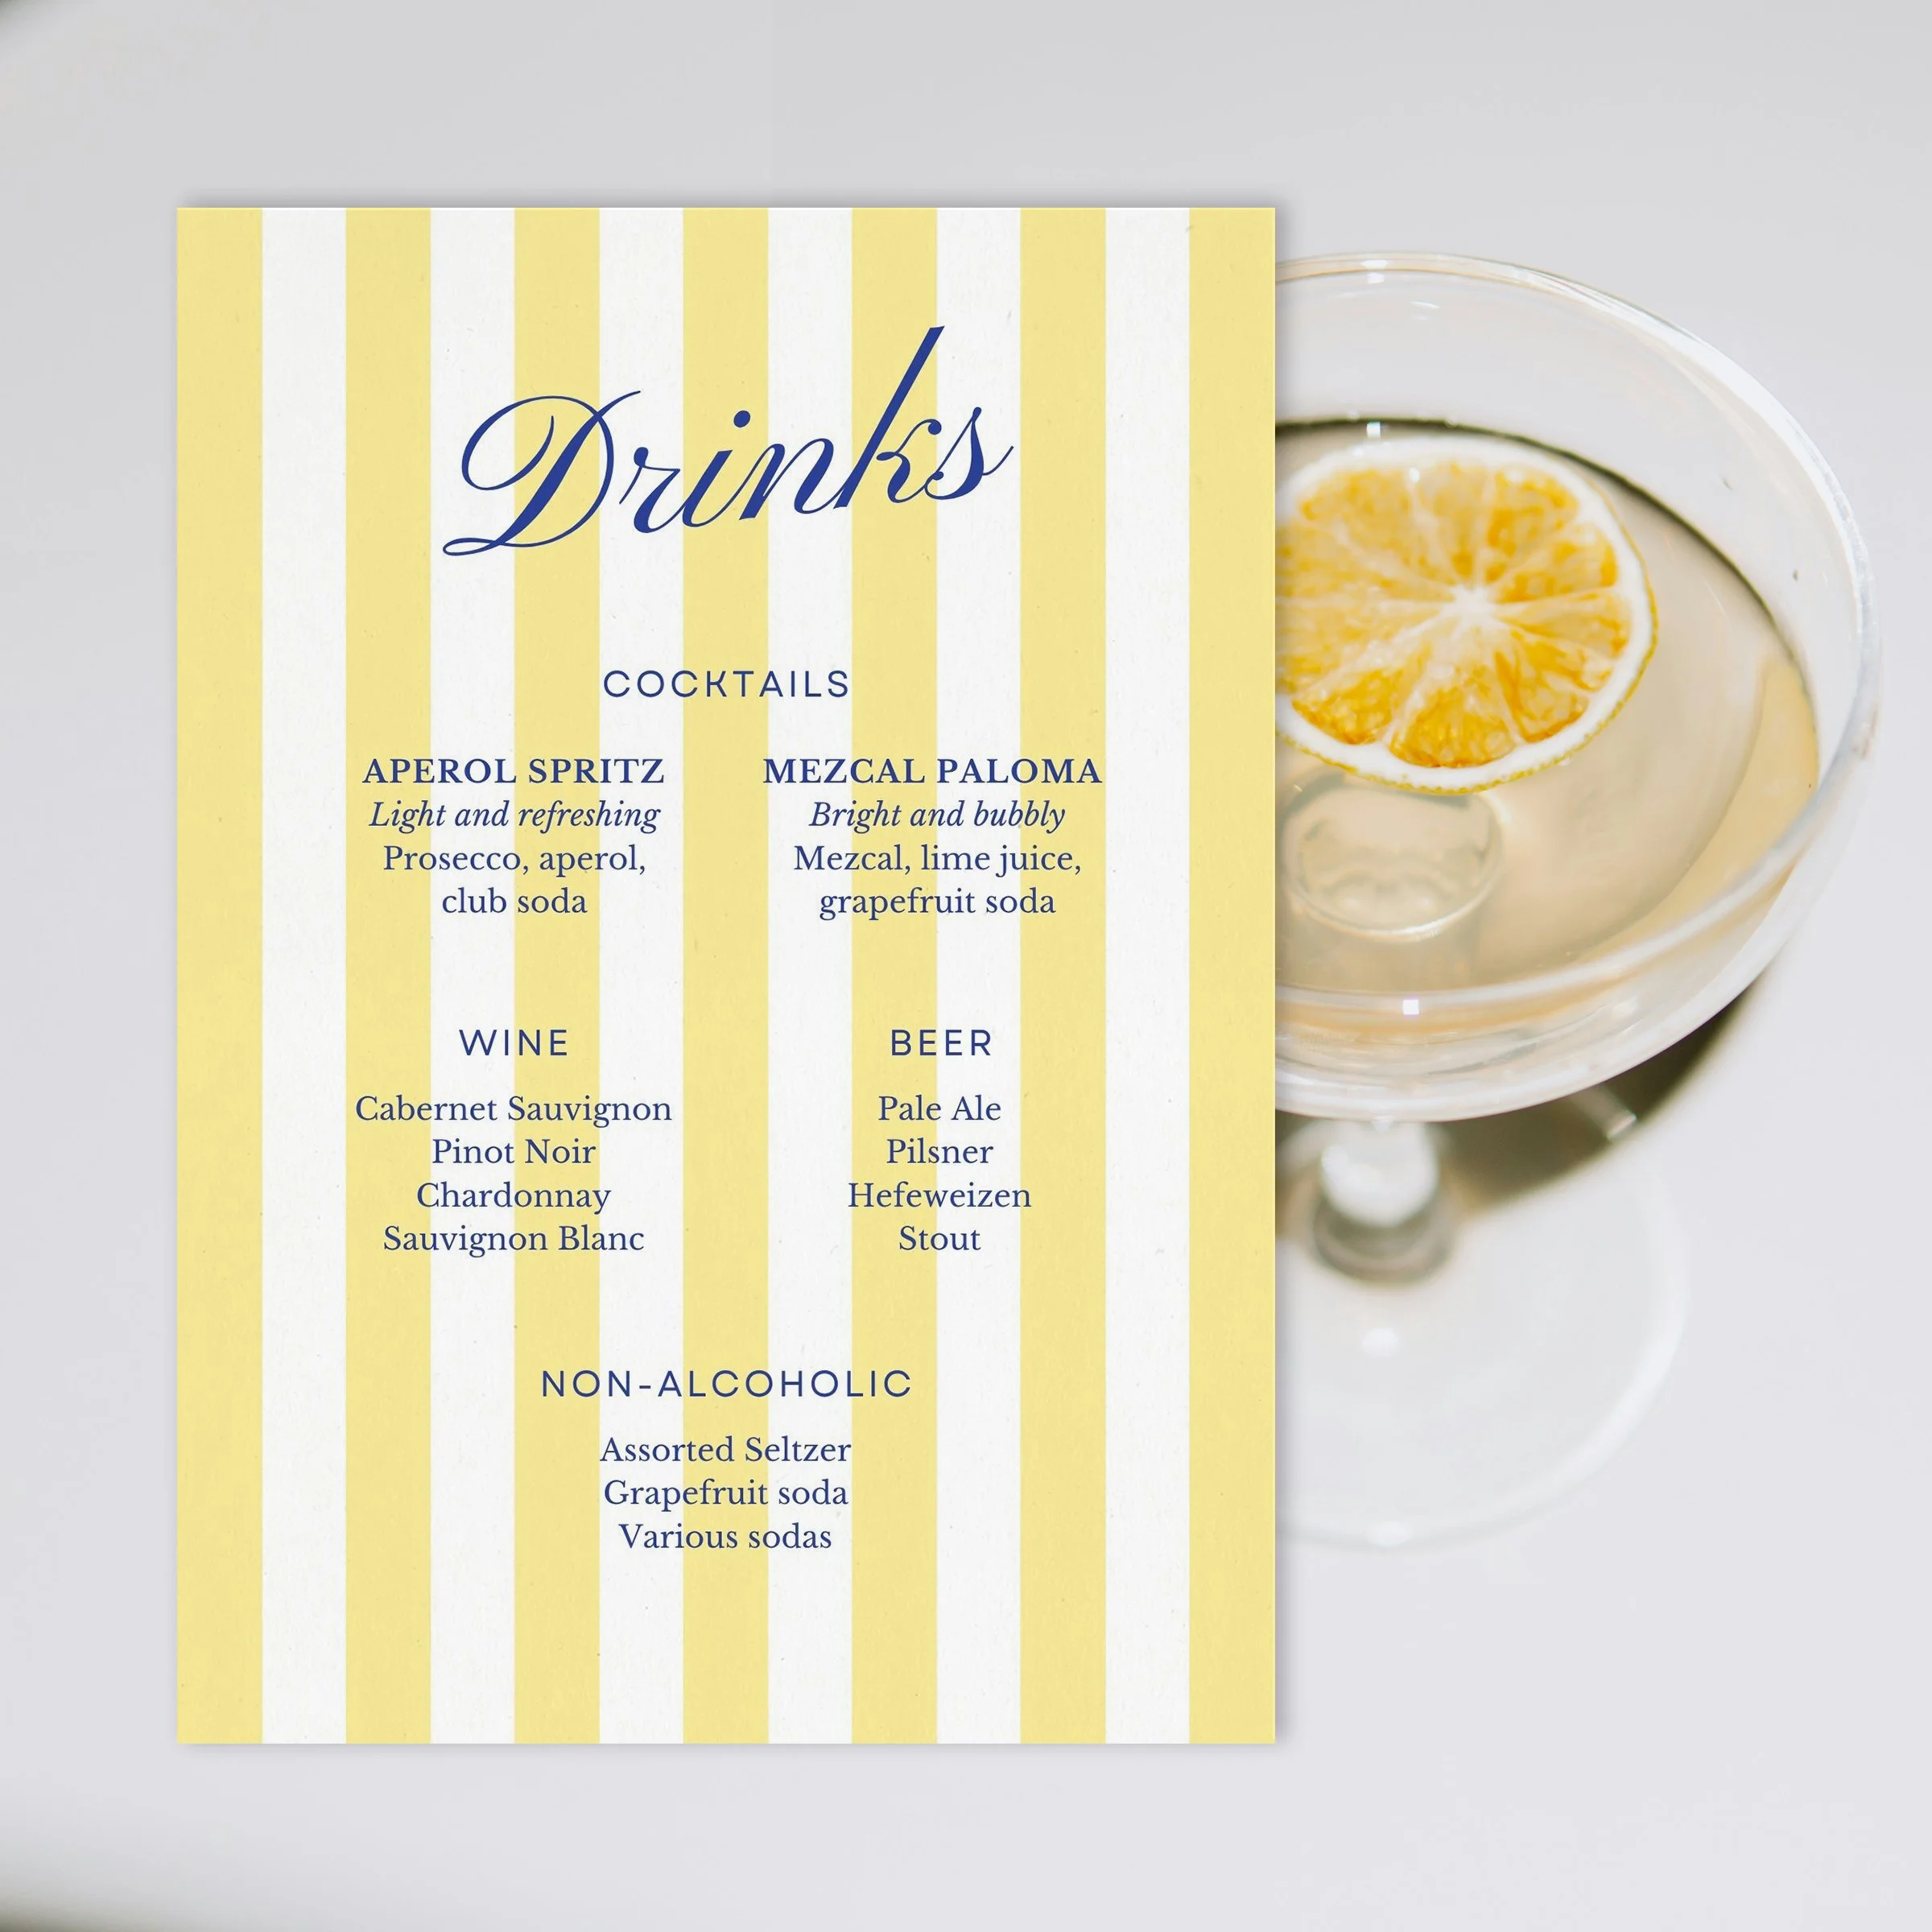
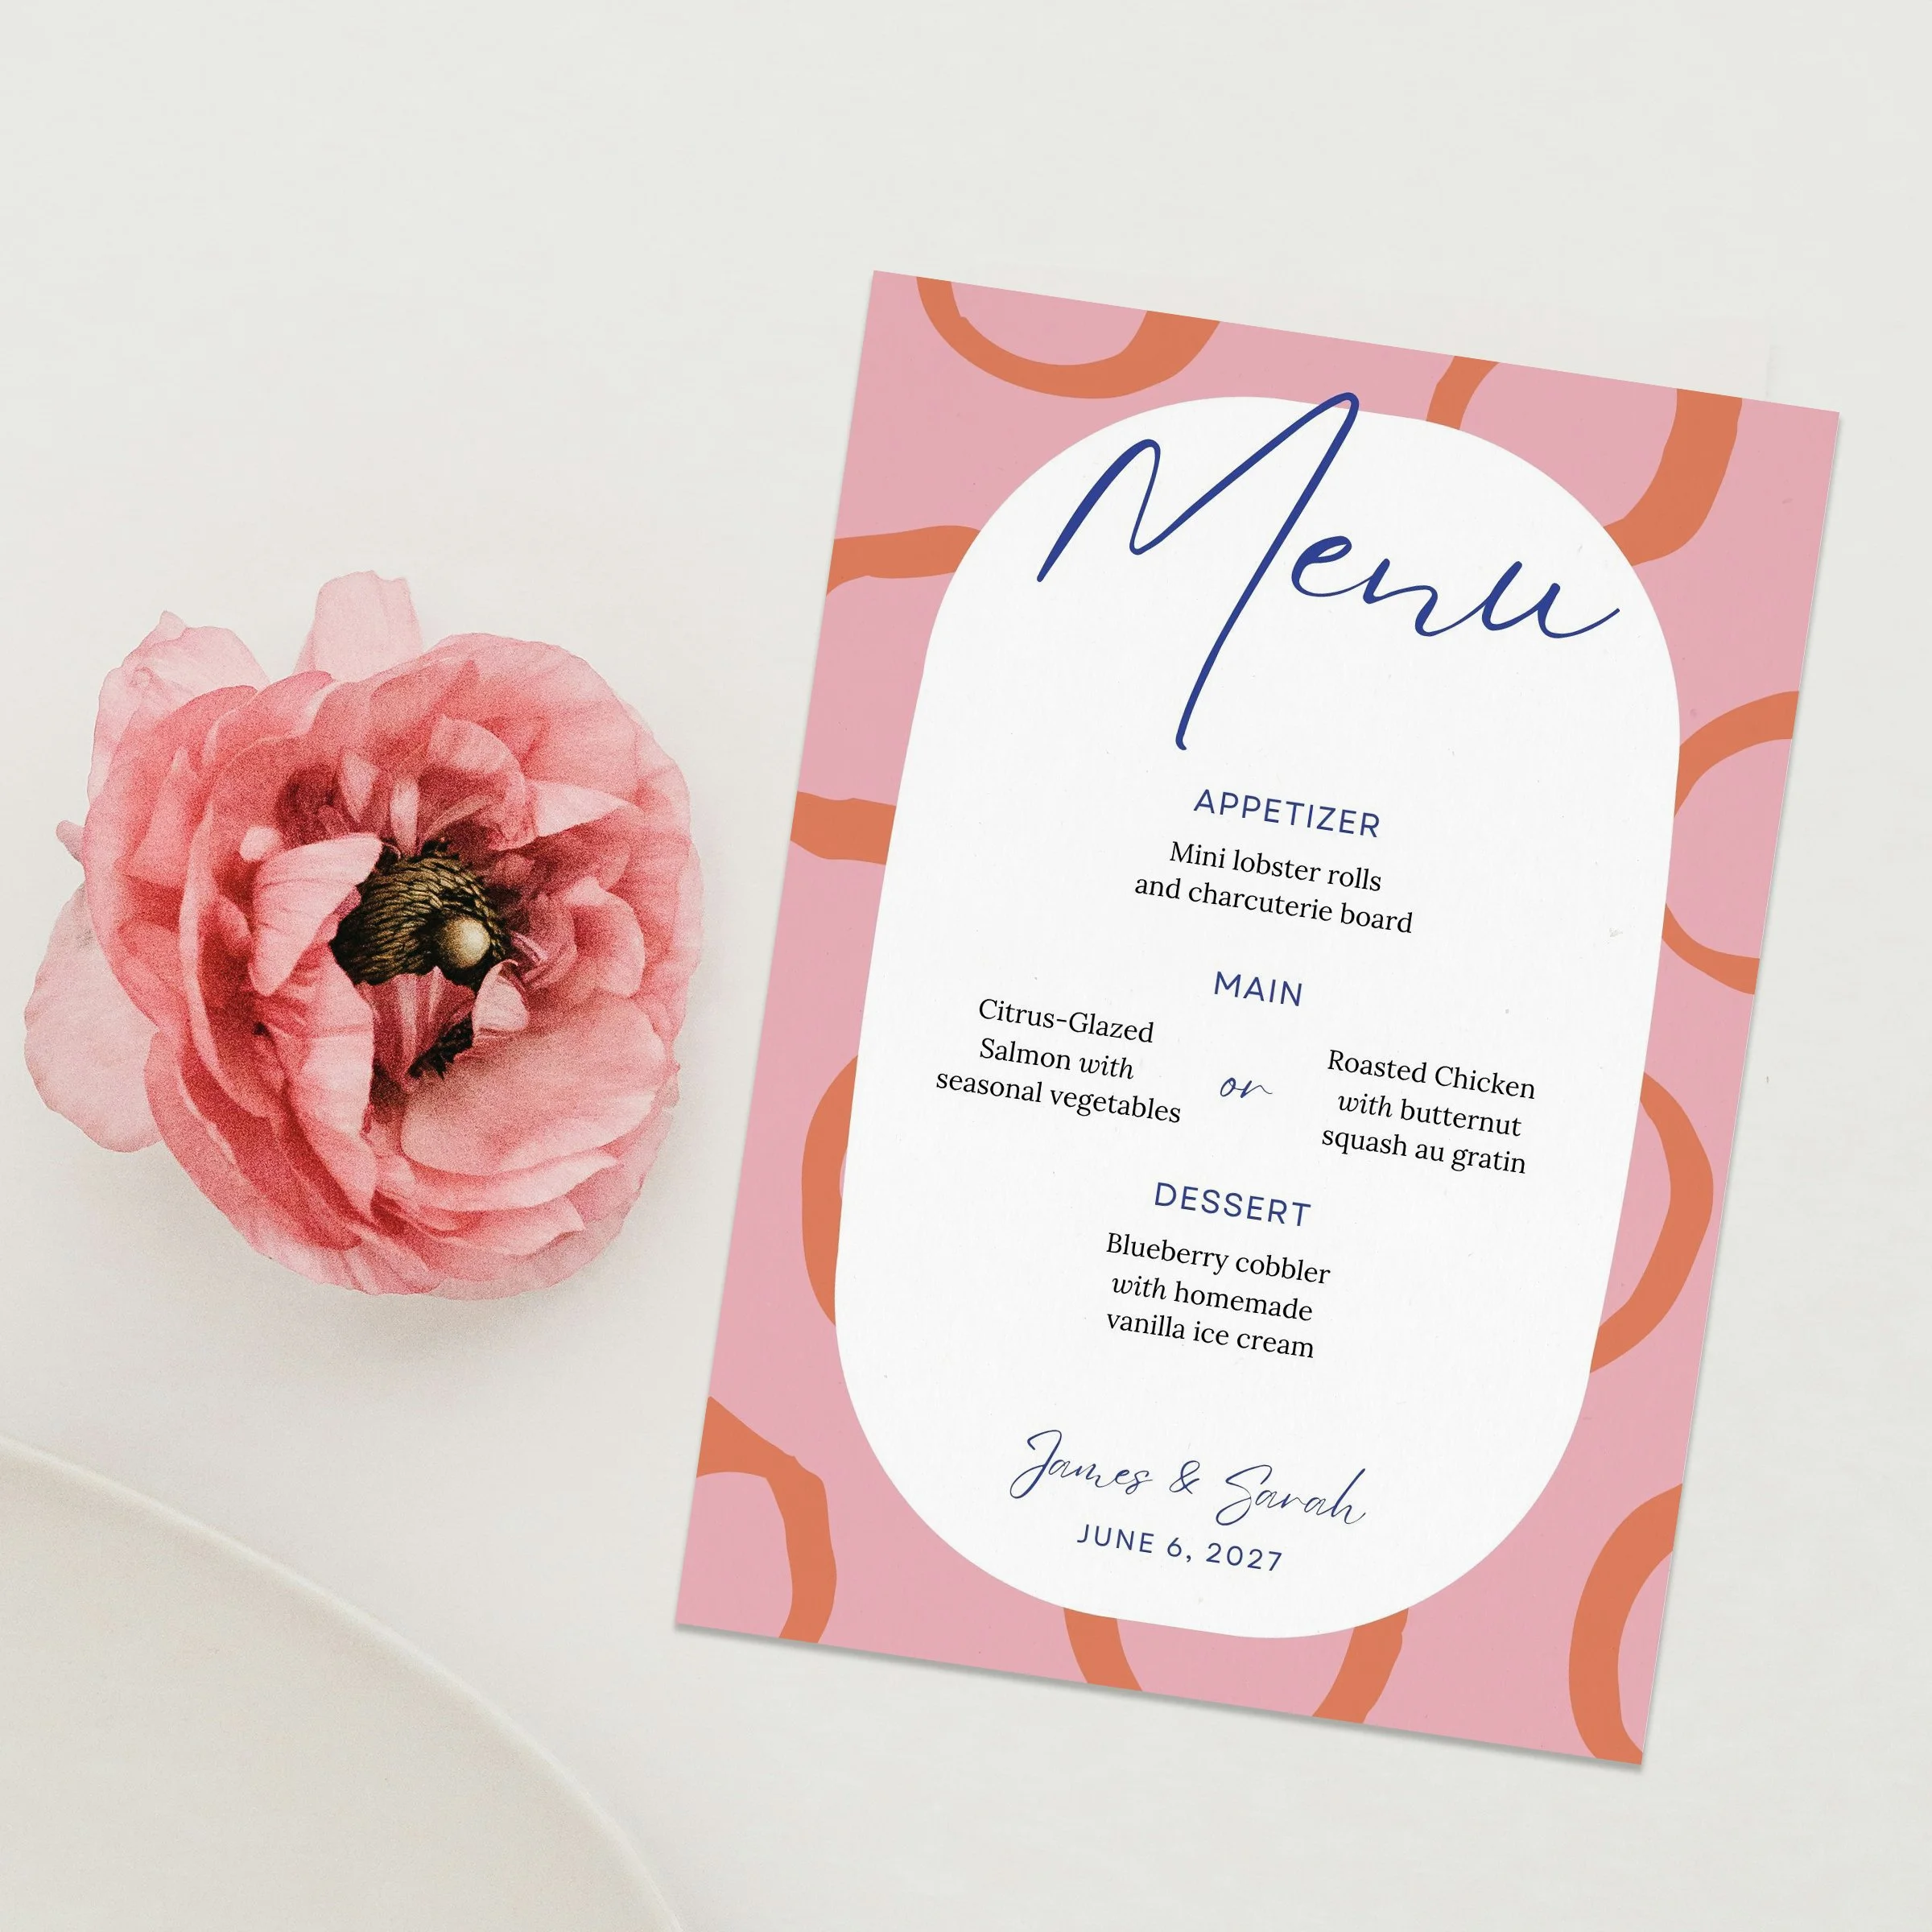
My professionally-designed templates make your event feel pulled together and special. All designs are carefully illustrated by hand and designed by me in Canva (no AI here!). All fonts and illustrations are 100% editable with a Canva free account—no other software (or design experience) needed! The how-to guide below will show you how to easily update everything—colors, text, graphics and backgrounds in your Canva wedding menu template. Let’s get started!
Note: This guide covers the basics of editing our Canva menu and place card templates. If you need more information, check the Canva Design school.
Step 1: Download your Canva menu templates
When you purchase a Canva wedding or special event template from our template shop, you will immediately receive an email that includes a PDF with the links to download your menu templates. You may need Acrobat Reader to open the PDF document—download it here.
When you click the link/button in the PDF, the templates should open directly in your Canva account. You’ll need to create a free Canva account first if you don’t have one already. You only need a free account to use all the fonts, illustrations and designs included in our templates.
Step 2: Make a copy
Once you’ve opened your menu template in Canva, go to the menu at the top of the browser, click File, then Make a Copy. You should keep the original version for reference and make your changes in the new copy.
Step 3: Customize your Canva menu template
Canva is easiest to use in a browser on a desktop or laptop computer, but you can also access it on your phone or iPad—just download the mobile app on iOS or Android.
Update text and fonts
Double-click on a text box to edit the contents. You can change the font on a individual box by highlighting it and then selecting a new font from the drop-down menu at the top of the window.
Update colors

You can change the color of an individual element by selecting it and then changing the color at the top of the window (see example graphic).
To change the colors on all pages, go to Design, then Styles, then Color Palettes, choose the one you like, then click the Apply to all pages button that appears. Tip: click the same color palette multiple times to quickly try out different variations.
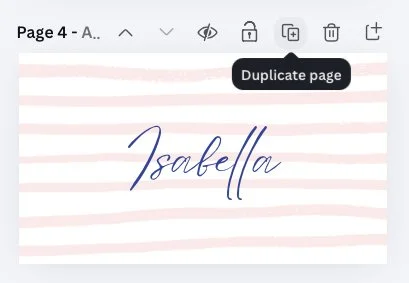
Customize place cards
To customize place cards for each of your guests, first select the tent/folded style (3.5”×4”) or the flat style (3.5”×2”). Click the duplicate page button at the top of the design (see example graphic). Update to the next name. Repeat this process as many times as needed.
Step 4: Export your custom Canva menu template as a printable PDF or high-resolution digital version
To export a PDF for print:
Click File, then Download. Select PDF Print if you want to print the design. Be sure to select the checkboxes for Crop Marks and bleed and change the color profile to CMYK to ensure your file is print-ready.
Note that color varies greatly between monitors and printers so be sure to do a small test run—or request a hard proof from your printer—before ordering the full print quantity.
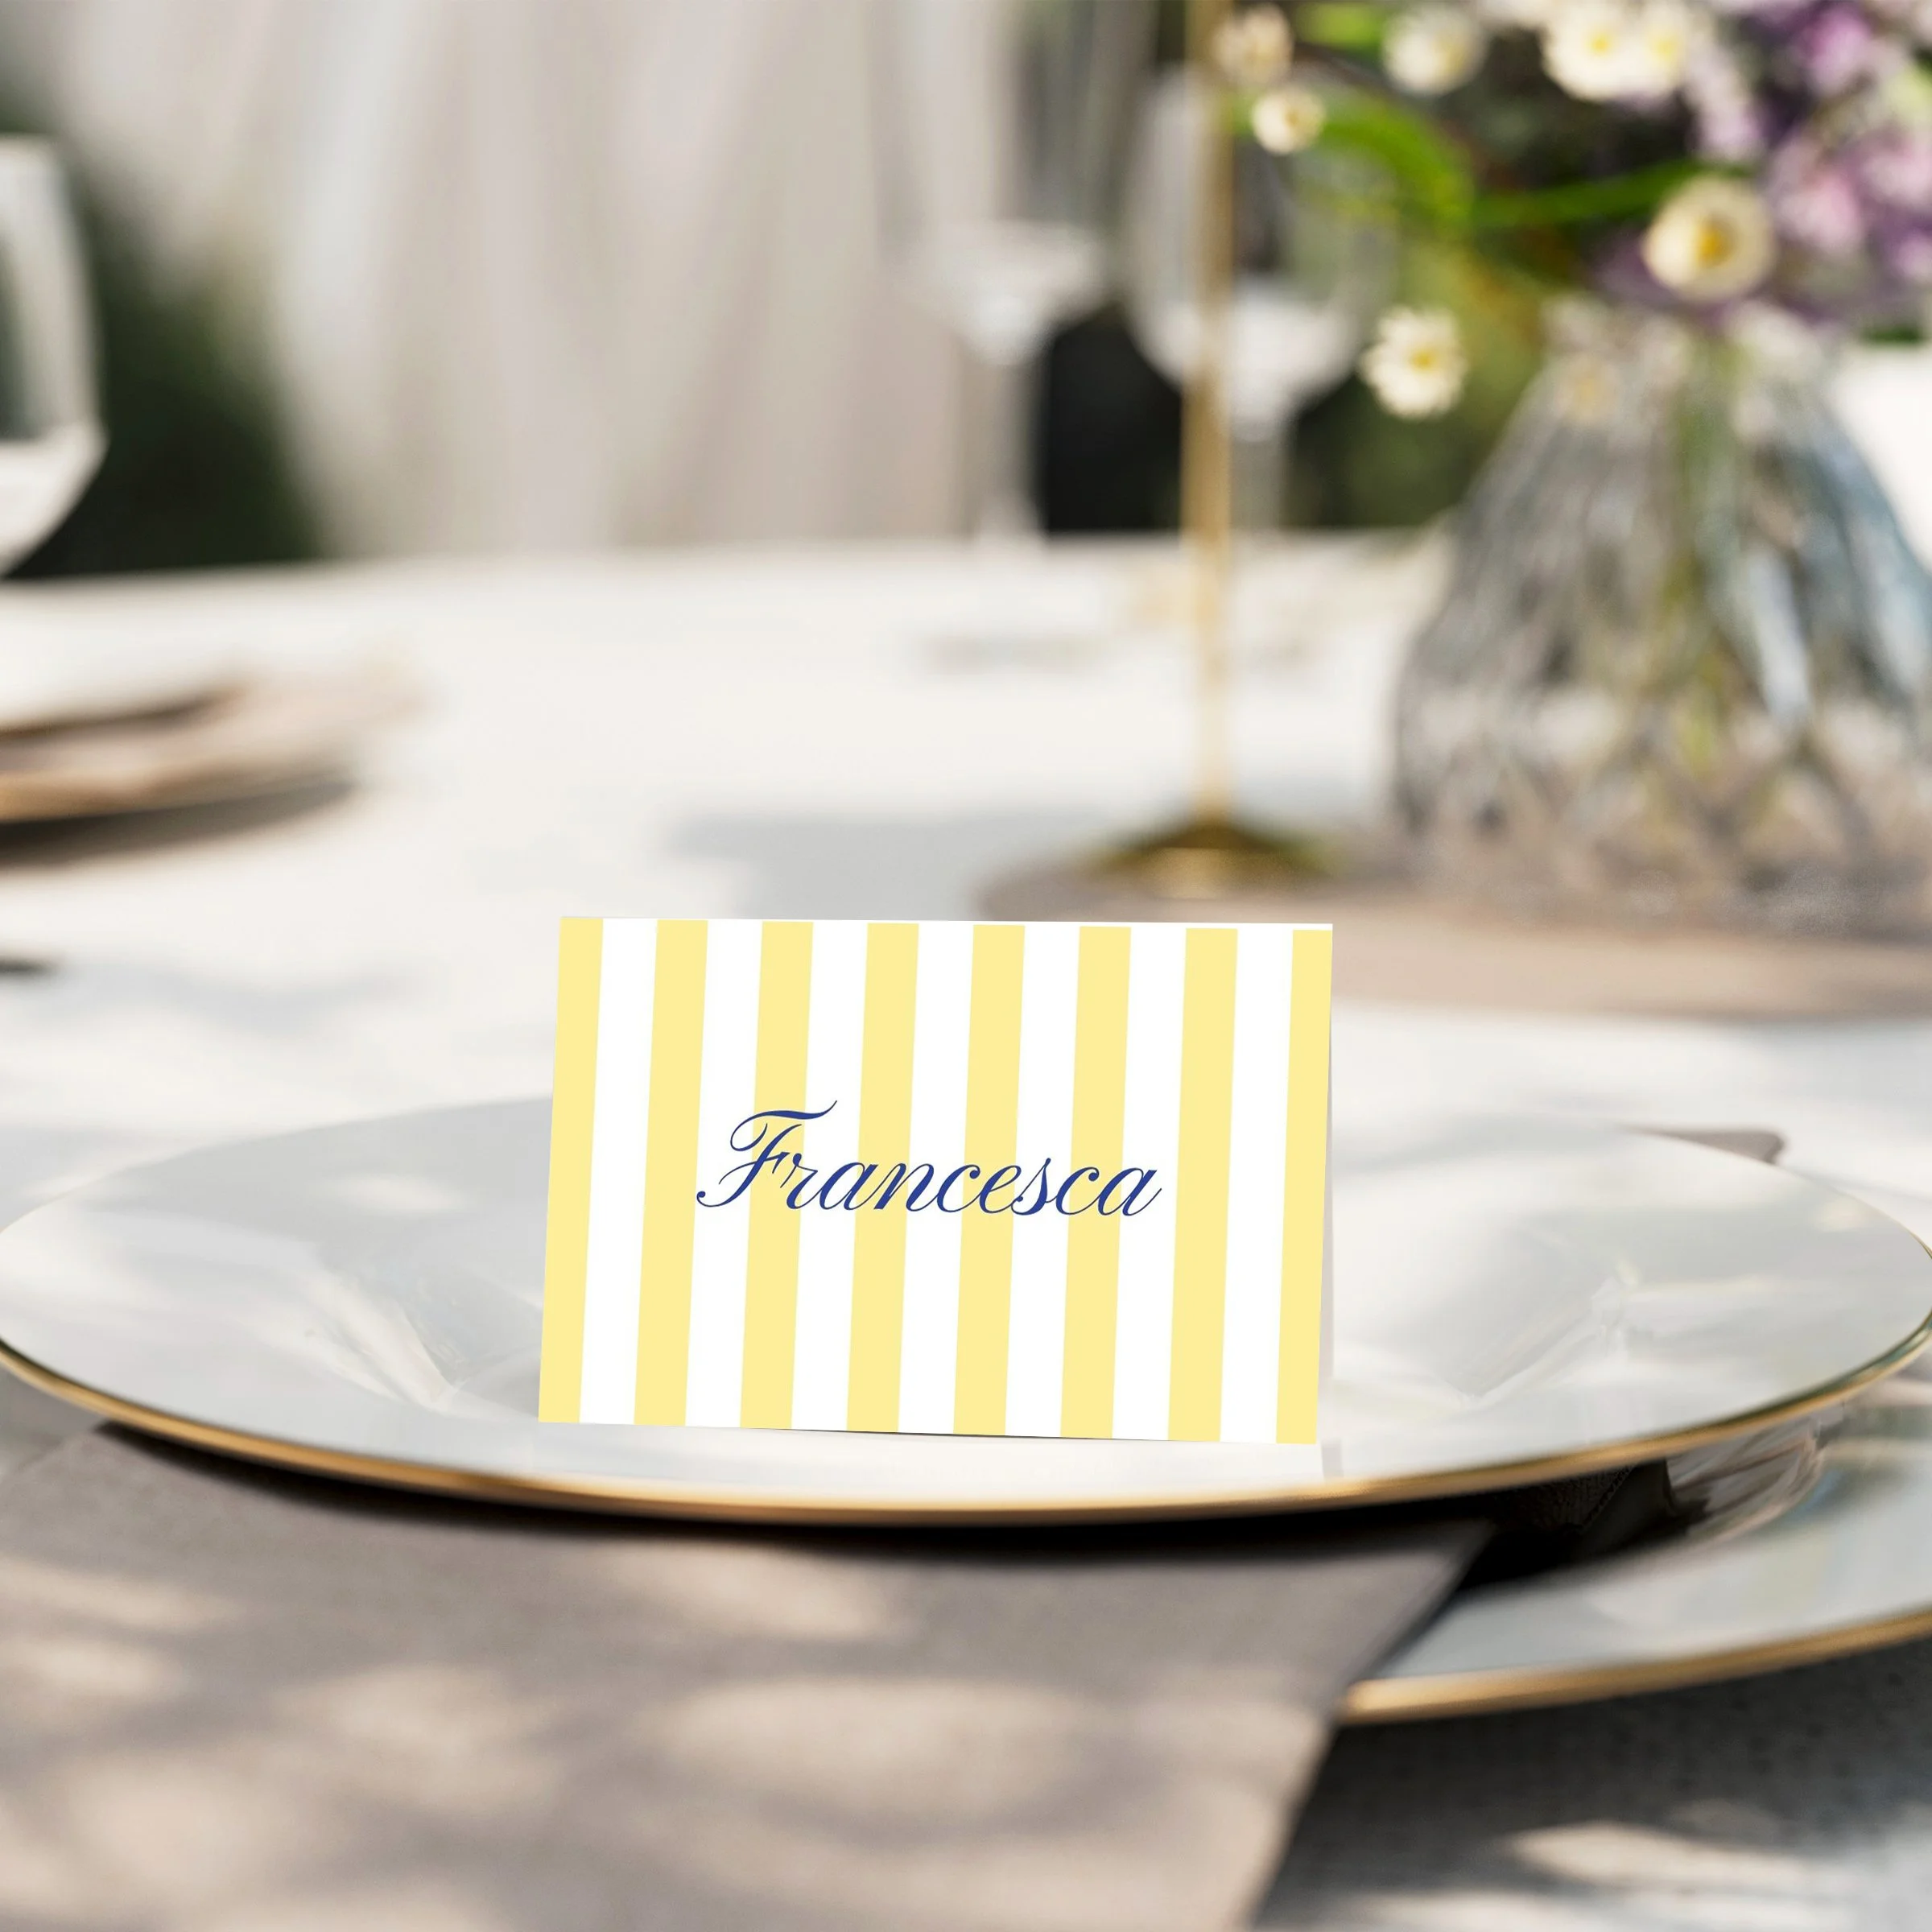
We recommend that you print menus and place cards on a textured card stock to make them feel more luxe. All place cards are designed to be folded/tented to be placed upright as show below.
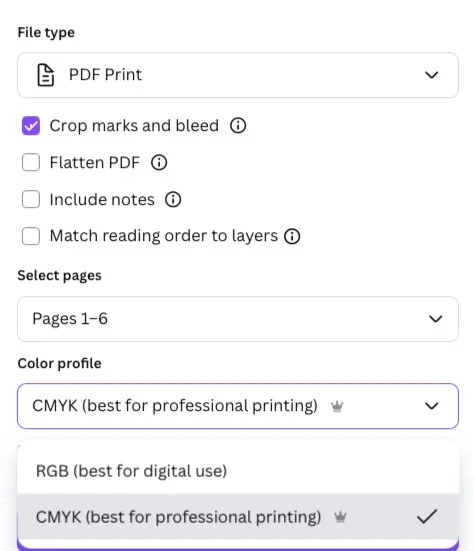
This screenshot shows the best download selections for printing with a professional printer.
To export a digital PDF for send by email:
Click File, then Download. Select the option for PDF Standard and choose the pages you want to export, then click the Download button.
To export a digital menu to share:
Click File, then Download. Select the option for JPG (Quality: 100) and choose the pages you want to export, then click the Download button.